Automatic Importing
How to import UI automatically into Studio from Figma
You need to know how to manually import prior to automatic importing! If you haven’t already, learn more here
A Basic Rundown
Manually importing UI with this plugin is faster than not using any plugin at all, but if you want to skip typing in your properties and making your instances, automatic importing is leagues faster.
Automatically importing means that the following is done for you:
- Layout, sizing, strokes, shadows, etc.
- Naming
- If set by settings, transparency and corners for
Frameinstances (by default, doesn’t do this) - Nesting
- And more!
Here is how the import process works:
This example video is outdated and was made before shadow data and more was auto-exported, so it’s less complicated than it seems!
How To Export From Figma
Before we can import, we need two things: our JSON import code, and the component images.
Before doing anything, we want to apply tags to our Figma objects. You can learn about tags on this page.
Once tags are applied, select the window/frame you want to export and open the Figma plugin, click export, and copy the generated text: 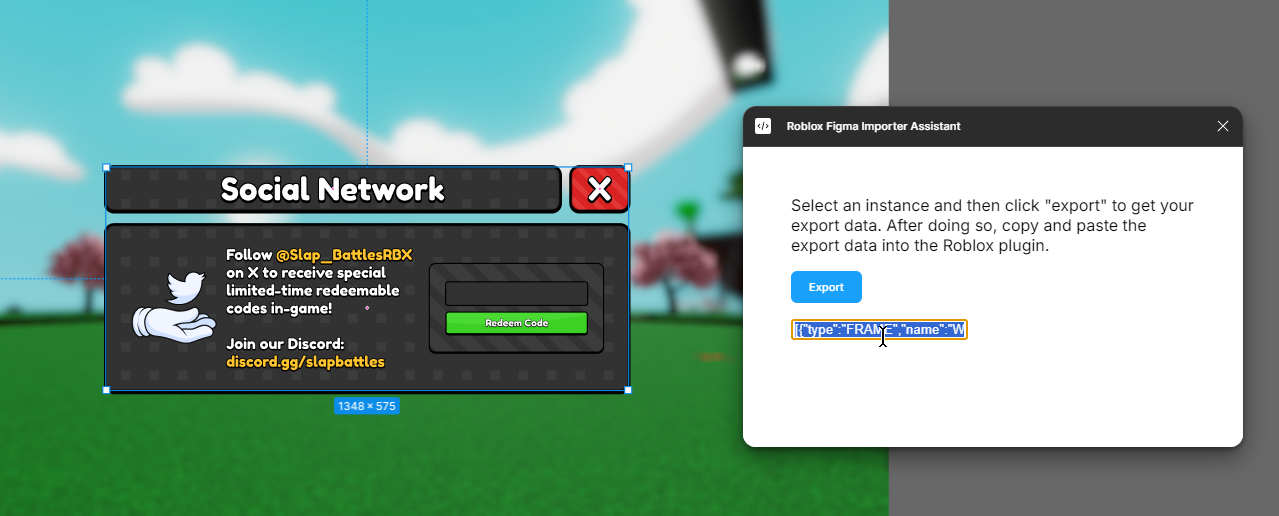
Finally, export each component into your files as a .png. You’ll upload these in a moment.
Next, let’s go back to Roblox Studio and open our Studio plugin. Look at the second section, Settings:
- Ticking the “Respect Auto-Import Corner Radius” checkbox will ensure all imported UI gets
UICornerinstances that match yourCornerRadiusin Figma - Ticking the “Respect Auto-Import Frame Opacity” checkbox makes sure that your imported UI has a transparency similar to the Figma counterpart
These are heavily case-by-case, and you can leave them at the default values if you’d like.
Once you’re done with that, select your target ScreenGui, take your previously copied text, paste it into the Import Data field under the Auto Import section, and then click Auto Import.
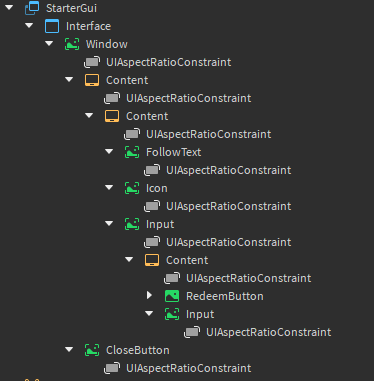
In the above example, our UI will be imported with this hierarchy:
Applying Images
Once you import, simply bulk upload your images (via asset manager) and go through your ImageLabels and ImageButtons one-by-one, applying each asset id to the Image property and clicking Apply.
In our example, we get this final result:
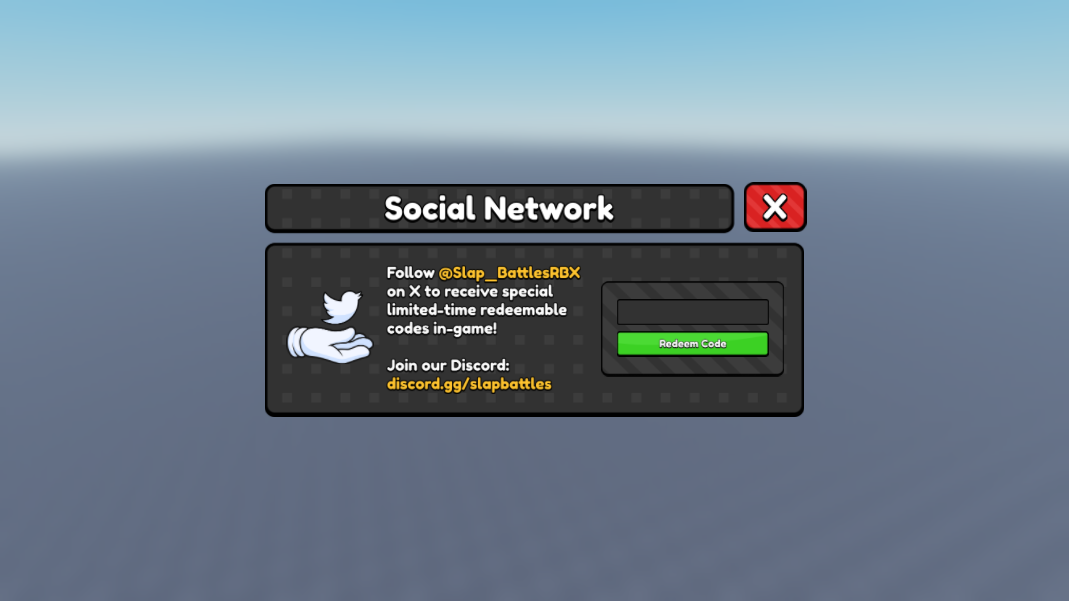
And that’s it! You may want to clean up afterwards if there are slight errors in your UI, and if so, it’s recommended you check out the import cleanup page.