Manual Importing
How to import UI manually into Studio from Figma
Initial Setup
To begin, if you haven’t already, create a ScreenGui instance under StarterGui. Open the Roblox plugin and select it. Once you do, you should see something like this:
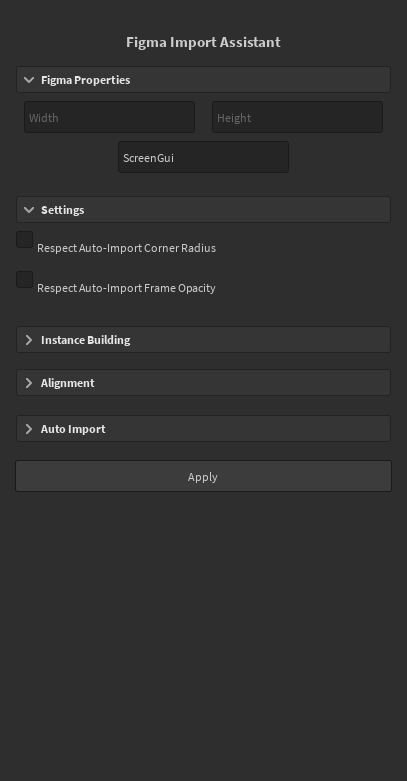
In Figma, your imported UI must be in a parent frame. For example, if you’re exporting a settings window, place that settings window in a 1920x1080 frame to simulate a 16:9 viewport.
If your parent frame is already 1920x1080, then don’t worry about changing any values! It is defaulted to this for
ScreenGui.
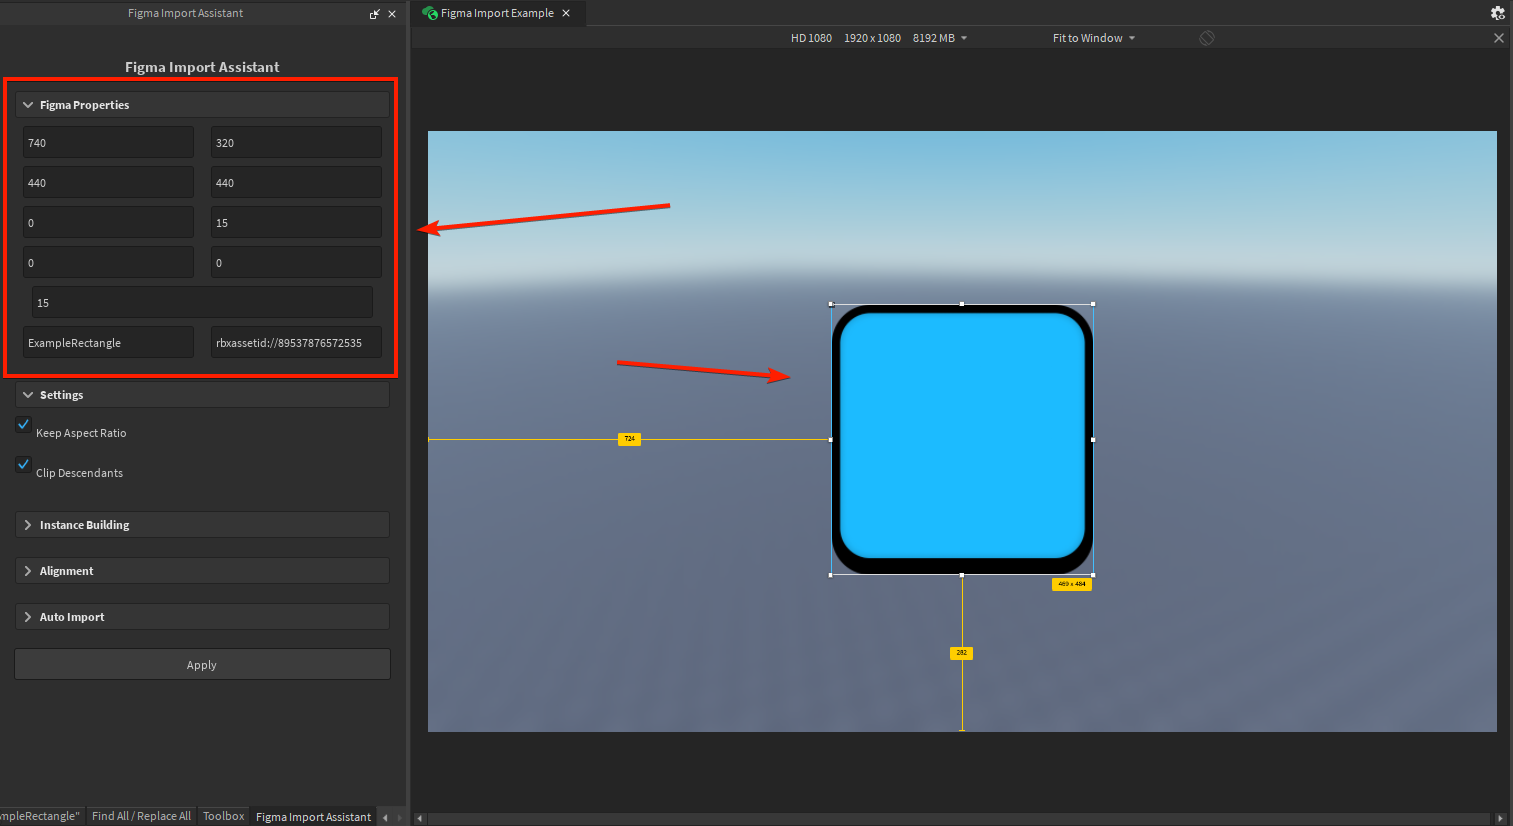
You’ll see that the top section, Figma Properties, has width, height, and name parameters. You can change these as needed. The width and height you set on the ScreenGui will determine how children are scaled!
Instance Building
We can begin our workflow by creating an ImageLabel via the plugin. With the ScreenGui selected and the plugin open, open the Instance Building section and click “Create Child Image Label”, like so:
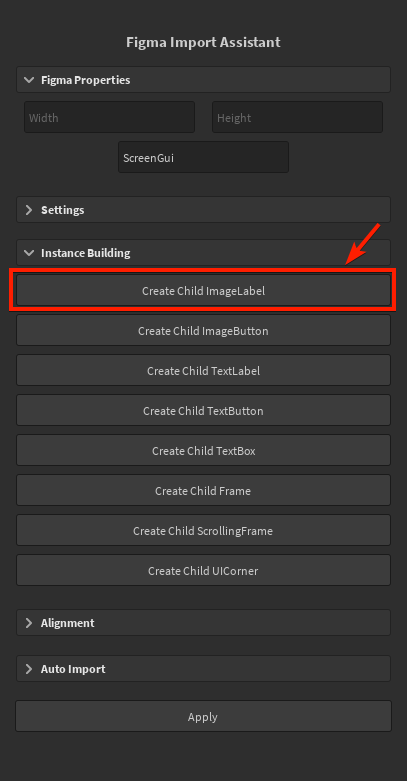
You can also create any other instance!
Understanding Properties
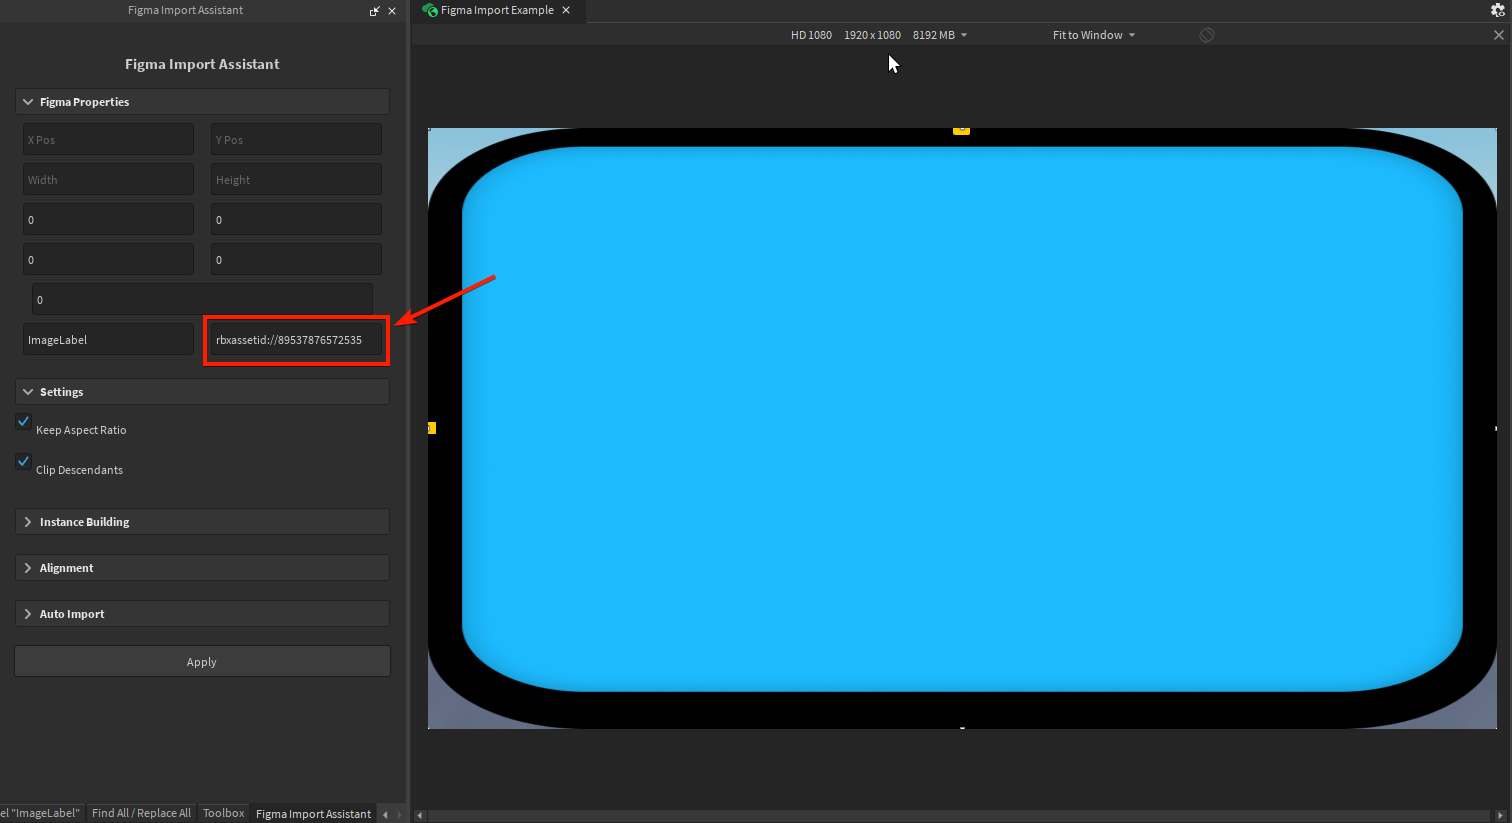
For each UI instance, you’ll have associated importer properties when selected. Here is a continuiation of our ImageLabel example earlier:
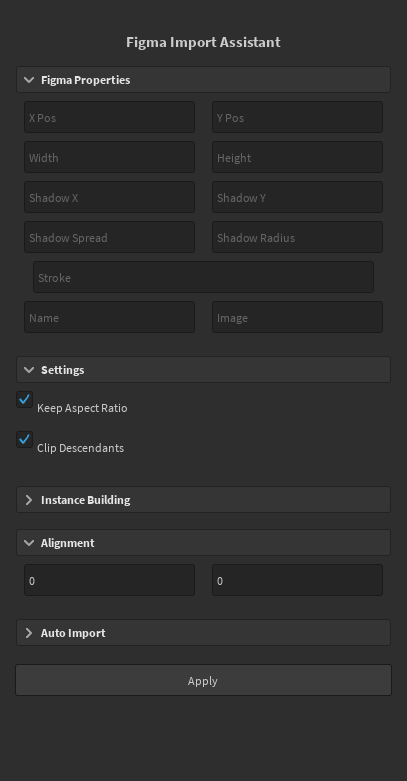
Here is a breakdown of the Figma Properties section:
- “X Pos” is the x-position of the related element from Figma
- “Y Pos” is the y-position of the related element from Figma
- The same goes for “Width”, “Height”, “Shadow X”, etc up until “Name” and “Image”
- “Name” is the instance name you would like to set
- “Image” is the image id for a selected
ImageLabel, if applicable
Right after, you’ll see a settings section:
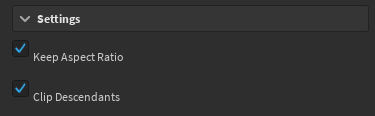
It’s pretty self-explanatory:
- Keep aspect ratio, when checked, will maintain the aspect ratio of UI elements
- Same goes for how it affects the instance
ClipsDescendantsproperty
Finally, you’ll see the alignment section:
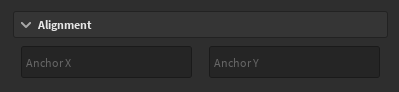
Setting the X and Y alignment values will change the AnchorPoint of the selected instance and automatically move it to stay in the same location. Changing anchor points can be useful for fixing issues or preparing for UI animations.
Figma Properties, Settings, and Alignment all have unique values for each instance!
When you set properties, make sure to click the Apply button at the bottom of the screen.
Importing A Single Element
Let’s teleport an example square ImageLabel image, which looks like this in Figma:
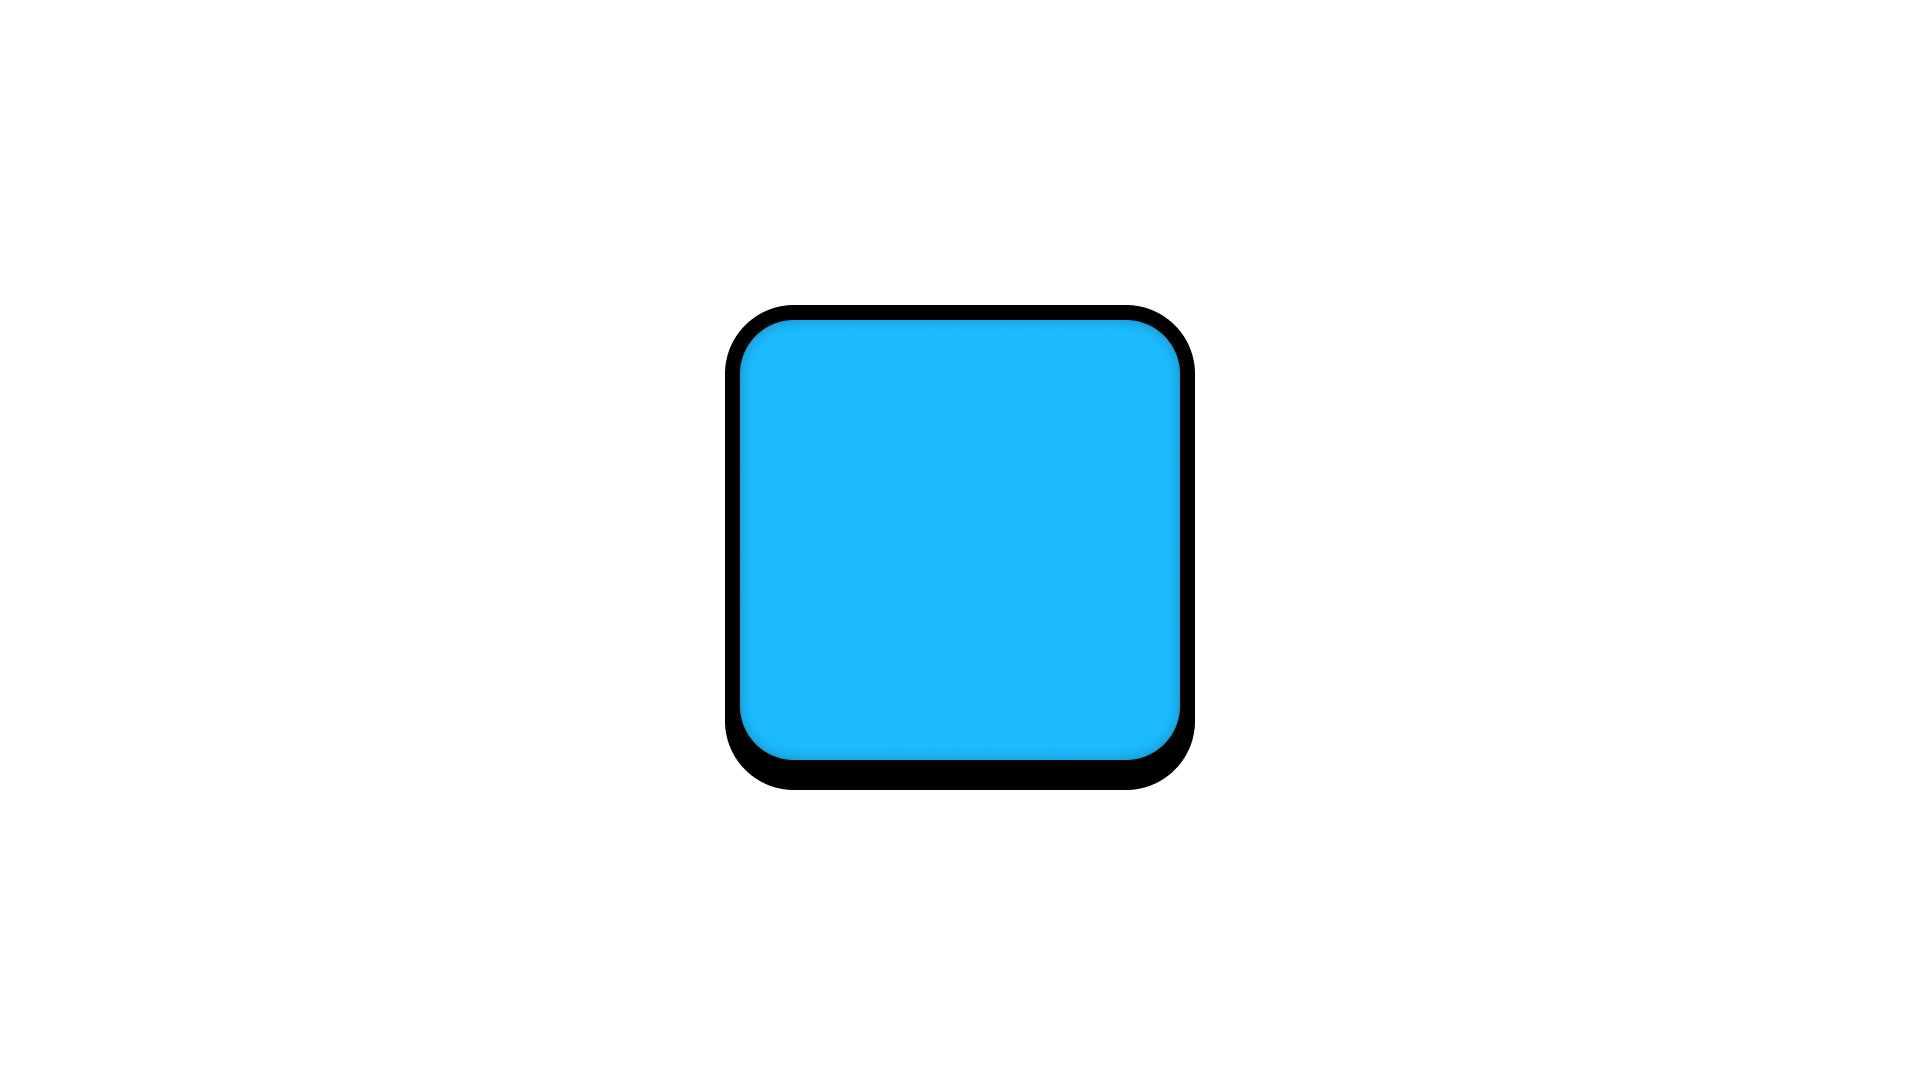
Note that the element is inside of a 1920x1080 parent viewport frame, which we will not be exporting.
Let’s export the square image to our files, create an ImageLabel, and set the Image property to the asset id of the uploaded image. Here is what you should see:
Let’s propogate our property values over to the plugin. In Figma, these are our properties:
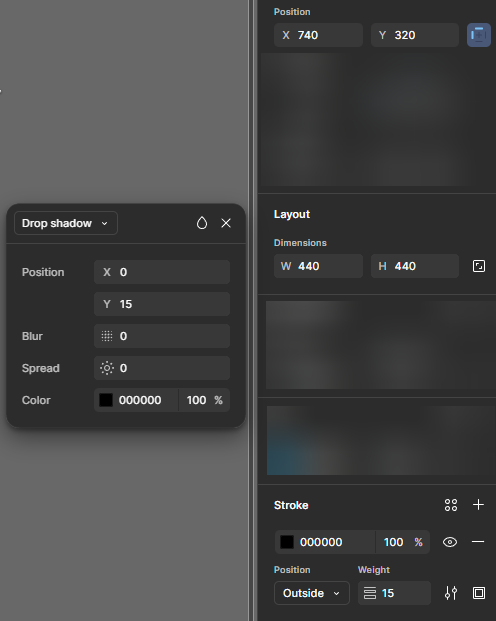
And if we apply them in Studio, it looks like this:
And that’s it!
Importing More?
If you’re importing much more, you might want to take the automatic route. Head over to the automatic importing page to learn about automated batch importing to make your Figma and Studio UI a few clicks apart